
Trek Y33 OCLV Restoration Project
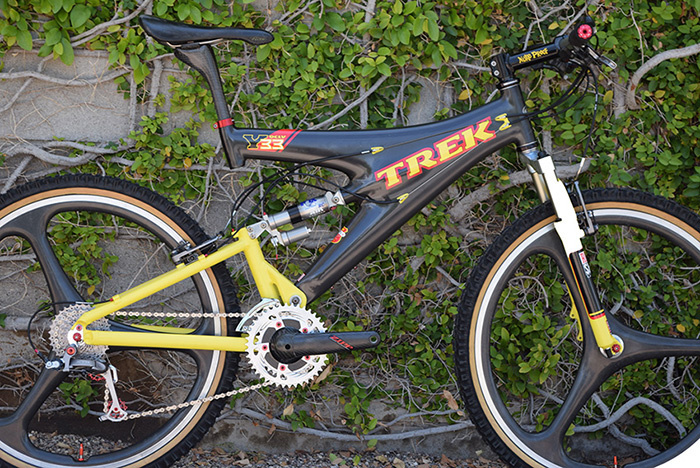
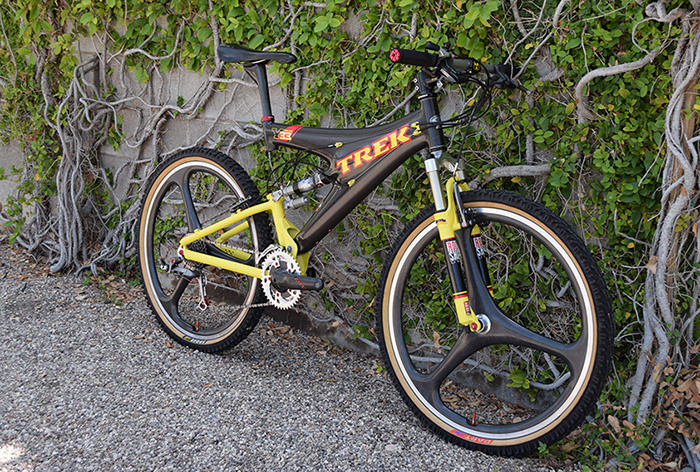
This past week we had a blast from the past in the best possible way: not only did we build up a Trek Y33, but we got to build it up the way we wanted it back in the day, when we loved nice bikes, but didnt yet have the nice bike money. Take a stroll through this post build gallery.
Over the summer Jason and I decided to build up one of our first 'dream bikes', a bike that I wanted when I was just a teenager with a 'life savings' that consisted of a Folgers can containing an absurd amount of loose change, and a bike that Jason wanted when he was a young buck, juggling the roles of full-time student and service manager.
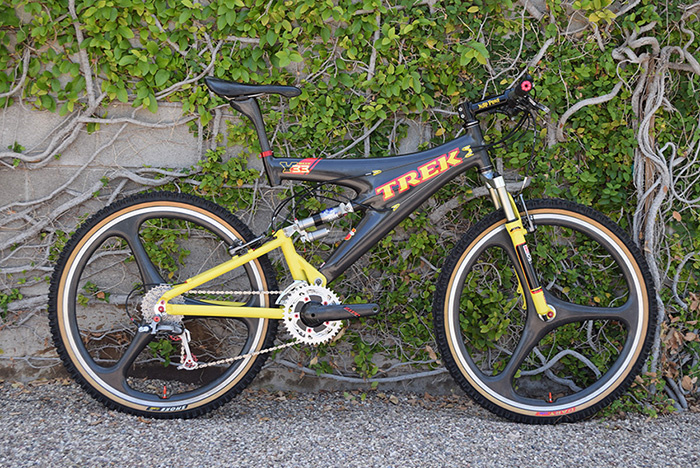
Luckily, since this bike is several decades old at this point, we have had plenty of time to hoard the perfect parts for it. The only 'brand new' parts on it are few and purely for color-tuning purposes, which we felt was an important touch for a bike of this vintage.
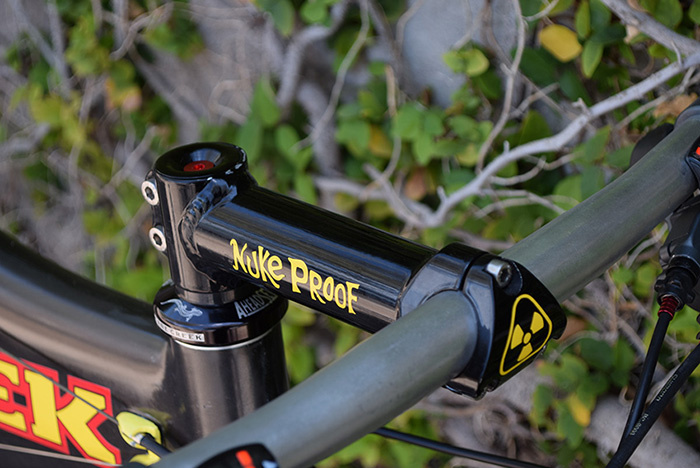
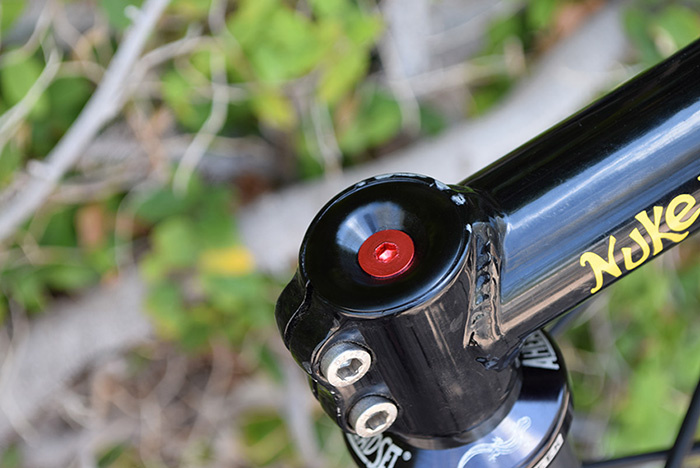
This 'Nuke Proof' stem has been in our 'museum' for quite some time, and it's so sweet we have always wanted to use it in a build. We chose red for the small hardware items, so we threw on this Fair Wheel Bikes top cap and bolt.
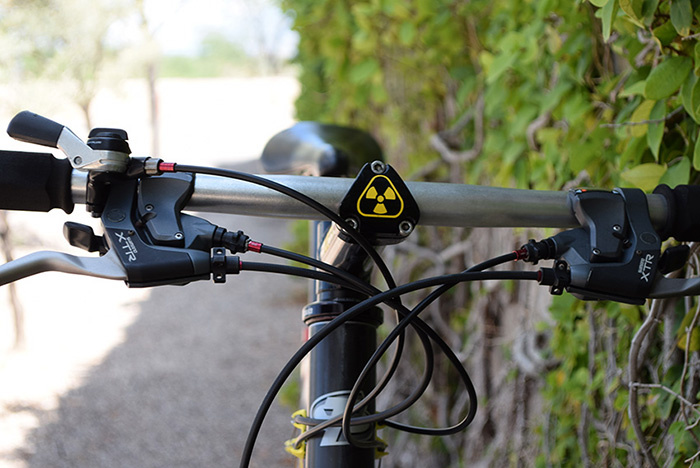
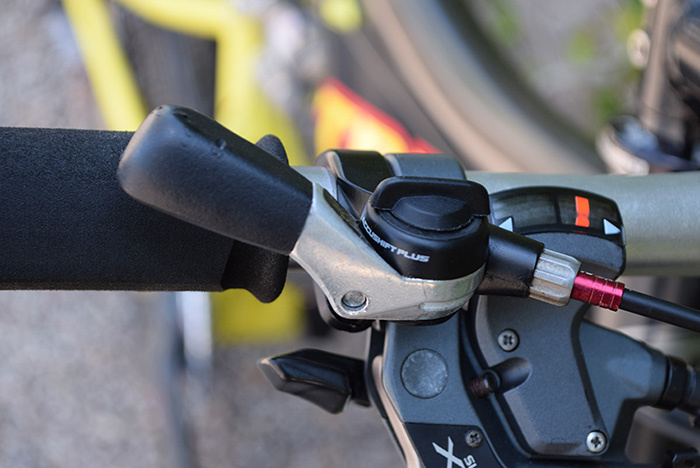
Aside from the crank, this build was full XTR. Don't be fooled, that's not a thumb shifter, but a lockout for the rear suspension.
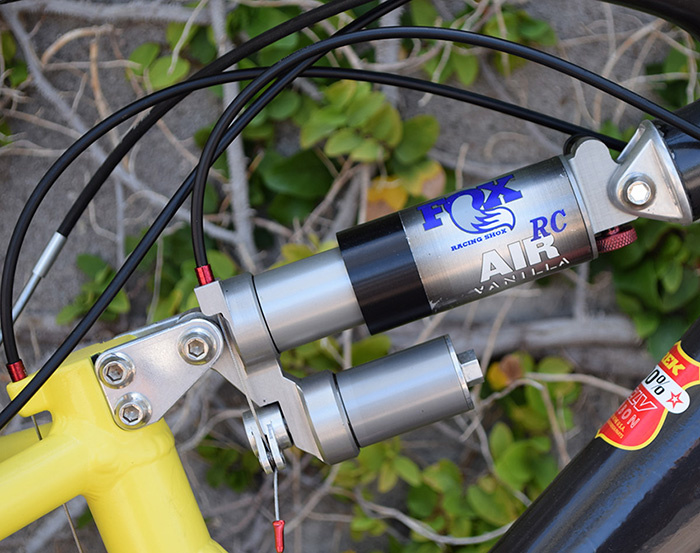
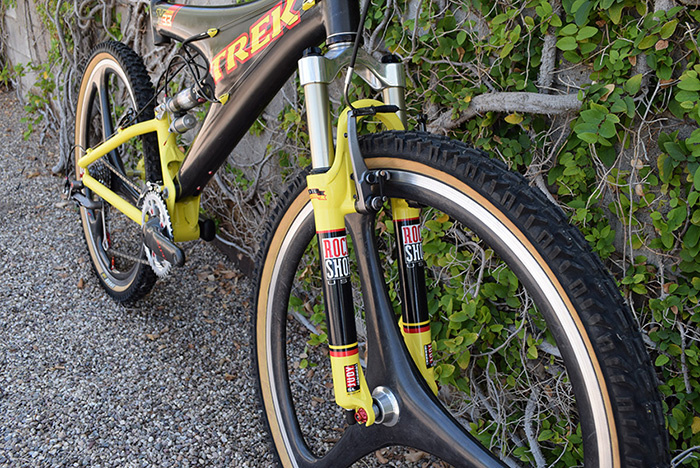
Vintage FOX Vanilla Air RC and RockShox Judy up front. Both freshly rebuilt and working great.
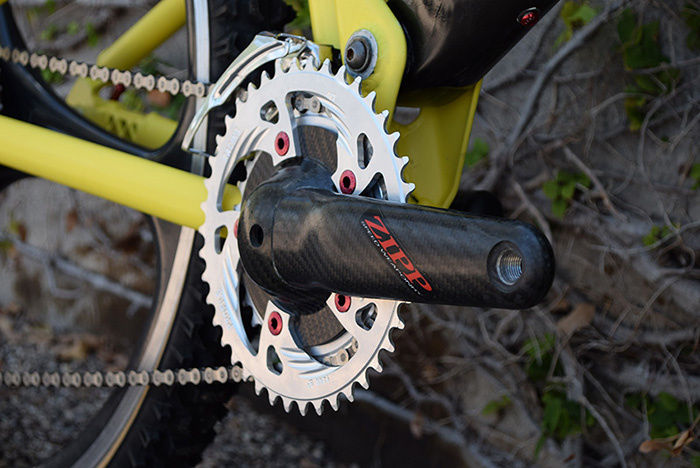
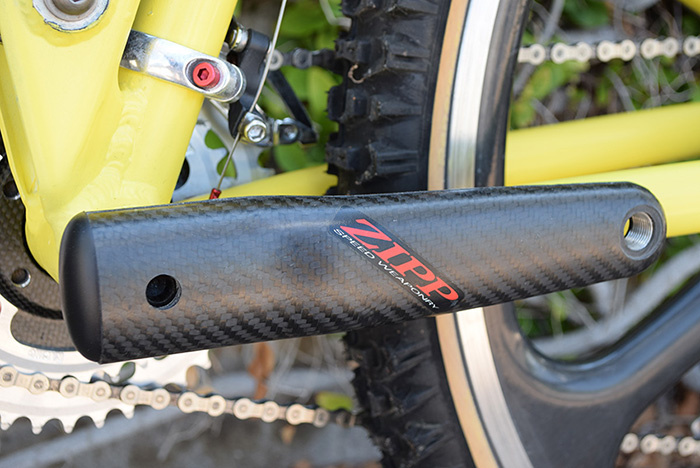
Cranks by Zipp.
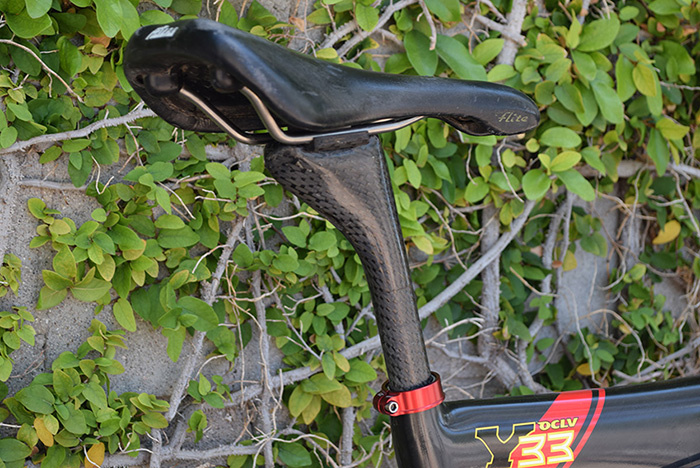
Seatpost by Buffalo Composite Designs. Definitely one of the first full-carbon setback posts. Buffalo is involved mostly in carbon repair at this point, but back in the day they made some really neat posts, frames, and other carbon odds and ends. Woodman collar for color-tuning purposes.
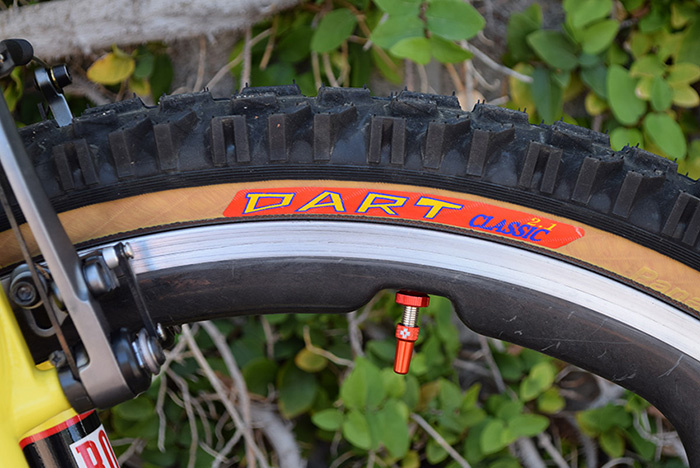
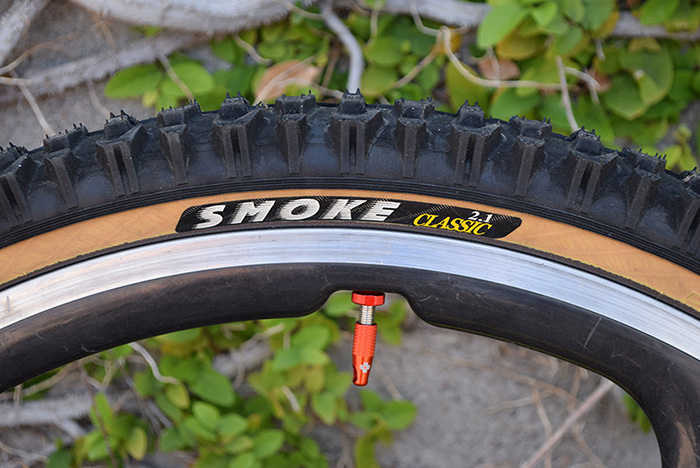
We've had this set of Spin tri-spoke wheels around waiting to be used on a build for forever. For rubber we went with Panaracer: Dart on front, Smoke on the rear. The perfect AND period-correct tires to run.
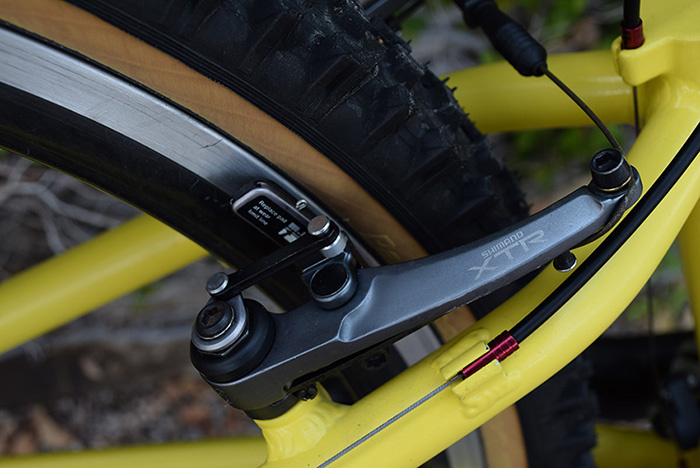
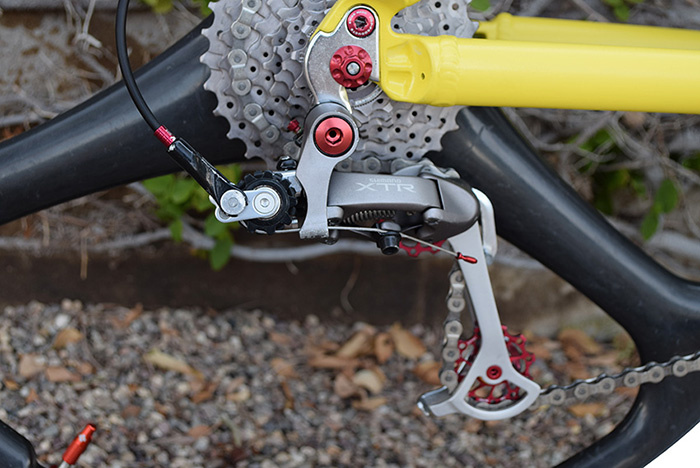
This XTR stuff cleaned up and tuned up so easily, which is a testament to the quality level: 30 years later, it works like new. We went all out with color tuning the rear derailleur, replaced the pulley wheels and bolts, B-tension bolt, mounting bolt, and hanger bolt, and we threw in a matching QR skewer as well.
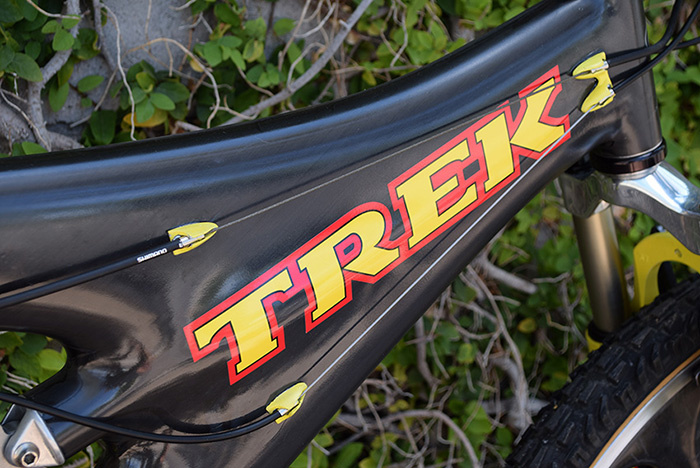
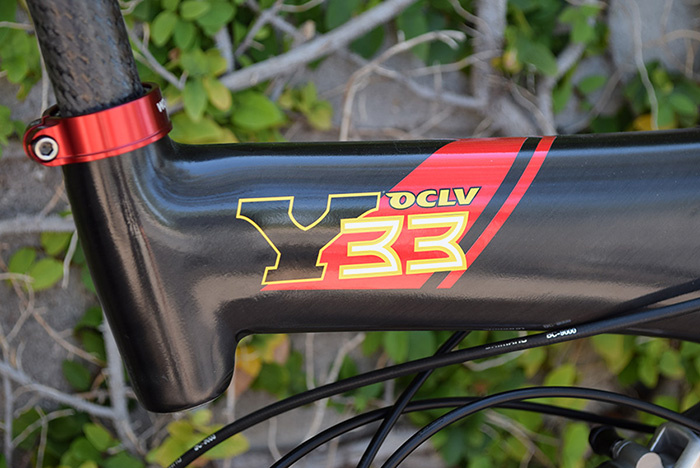
We had fresh period-correct decals custom-made for the frame and fork. Couldn't be happier with how they turned out.
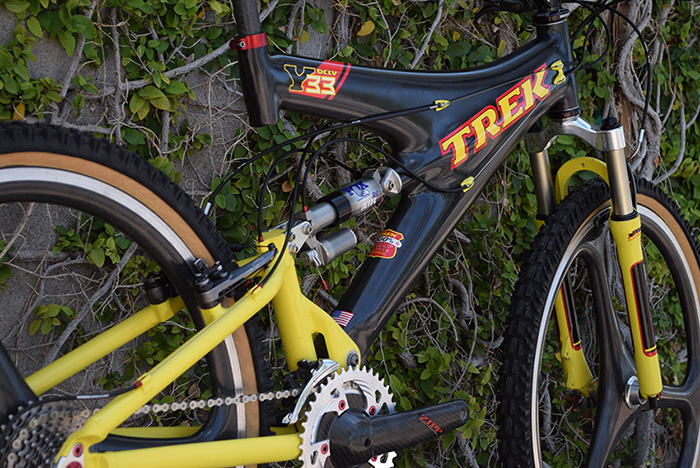
Finished up, this bike is honestly sweeter than anything I dreamed of having as a kid, and getting my first 'dream bike' through a very hands-on restoration made it all the sweeter.
I highly recommend trying out a restoration for yourself, not only because you end up with a sweet bike, but because there's a lot of great knowledge you pick up along the way. Reach out to the Park Avenue Studio if you do decide to dive into a restoration, and we would love to help with questions and ideas you might have. Watch the YouTube video that Jason and I put together along the way below.
Visit Fair Wheel Bikes on YouTube →
Until next time, happy riding!